Maintaining your vehicle’s air cabin filter is crucial for ensuring a healthy and comfortable driving environment. In this guide, we will delve into the importance of air cabin filters, how to recognize when they need replacing, and a step-by-step guide to replacing them.
What is an Air Cabin Filter?
An air cabin filter, also known as a cabin air filter, is a component that filters the air entering the passenger compartment of your vehicle. It removes dust, pollen, and other airborne particles, ensuring that the air inside your car is clean and breathable.
Why is Air Cabin Filter Replacement Important?
Replacing your air cabin filter regularly is essential for several reasons:
- Improved Air Quality: A clean filter ensures that the air circulating inside your vehicle is free from pollutants and allergens.
- Enhanced HVAC System Performance: A clogged filter can reduce airflow, causing your heating, ventilation, and air conditioning (HVAC) system to work harder and less efficiently.
- Odor Control: Over time, a dirty filter can cause unpleasant odors in your vehicle.
- Allergy Reduction: Regular replacement can significantly reduce the amount of pollen and other allergens entering the vehicle, beneficial for allergy sufferers.
Signs That Your Air Cabin Filter Needs Replacement
Recognizing the signs of a clogged or dirty air cabin filter can help you maintain your vehicle’s air quality:
- Reduced Airflow: If you notice a decrease in the airflow from your vents, it may indicate a clogged filter.
- Unpleasant Odors: Musty or moldy smells inside your vehicle can be a sign of a dirty filter.
- Increased Noise: A whistling or loud noise from the HVAC system can indicate that the filter is obstructed.
- Visible Dirt and Debris: If you inspect your filter and see significant dirt and debris, it’s time for a replacement.
How Often Should You Replace Your Air Cabin Filter?
Typically, it’s recommended to replace your air cabin filter every 15,000 to 25,000 miles, or at least once a year. However, if you drive in heavily polluted or dusty areas, you might need to replace it more frequently.
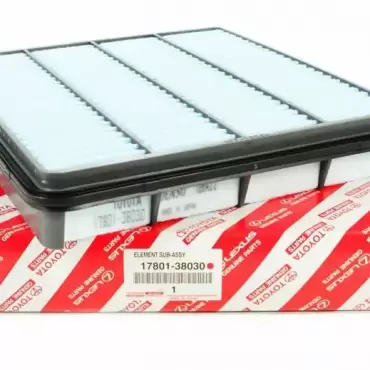
For a selection of high-quality air cabin filters, visit Filter Point’s Cabin Filter Section.
Step-by-Step Guide to Replacing Your Air Cabin Filter
Replacing your air cabin filter is a straightforward process that you can do yourself. Here’s a step-by-step guide:
1. Locate the Filter
Most air cabin filters are located behind the glove compartment. Consult your vehicle’s owner’s manual to find the exact location.
2. Remove the Glove Compartment
Open the glove compartment and empty its contents. Look for the side tabs or screws that hold it in place. Release these tabs or unscrew the screws to lower the glove compartment.
3. Access the Filter Housing
Once the glove compartment is lowered, you’ll see the filter housing cover. It’s usually held in place by clips or screws. Remove the cover to access the filter.
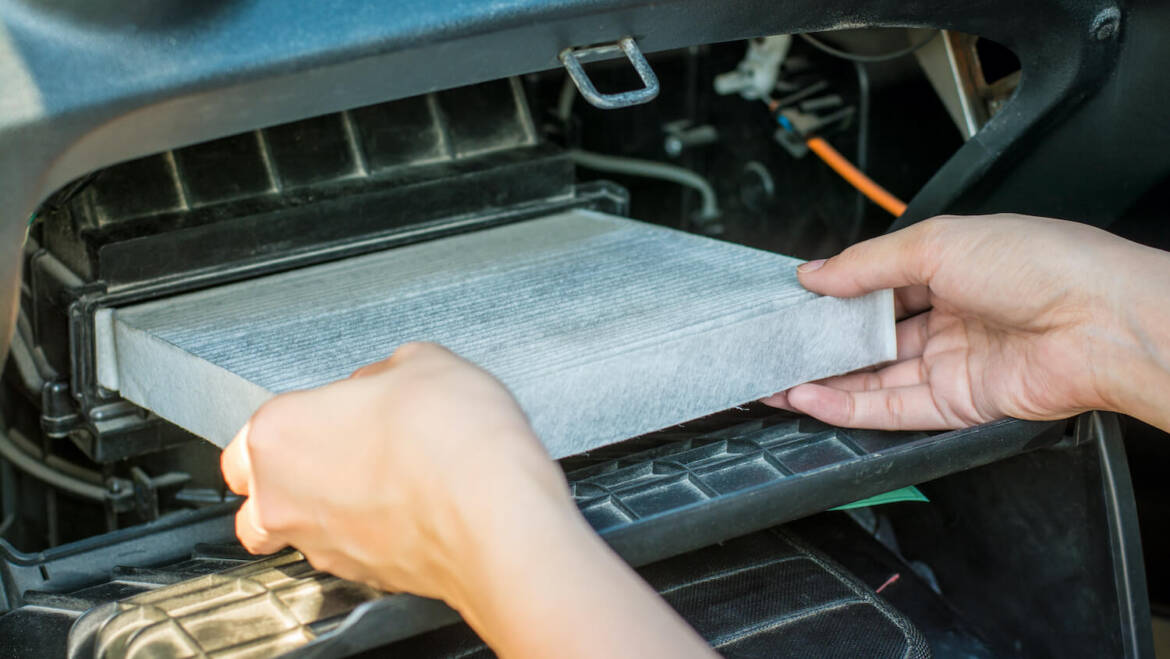
4. Remove the Old Filter
Carefully slide out the old filter from the housing. Take note of the filter’s orientation so you can install the new one correctly.
5. Install the New Filter
Insert the new air cabin filter into the housing, ensuring it’s oriented the same way as the old one. Replace the filter housing cover and secure it with the clips or screws.
6. Reassemble the Glove Compartment
Lift the glove compartment back into place and secure it with the tabs or screws. Return the contents to the glove compartment.
For a range of replacement filters, check out Filter Point.
Conclusion
Regular air cabin filter replacement is essential for maintaining a clean and healthy environment inside your vehicle. By following the steps outlined in this guide, you can easily replace your filter and enjoy improved air quality, better HVAC performance, and a more comfortable driving experience.
For all your air cabin filter needs, visit Filter Point and ensure your vehicle stays in top condition.


